|

FrontX CPX
Almost everyone who has a removable device gets frustrated
plugging and unplugging the device from the back of the computer.
It is amazing the number of cables we can get behind a computer,
and they always get tangled. I personally have a Kodak DC-280
digital camera (which I used to take the pictures below).
If I only had one computer, I could leave the USB cable connected
to the computer and I could download the pictures whenever
I needed. Bu as most people, I have more than one system,
and if I want to download pictures to my laptop, I would have
to disconnect the cable and move it to the laptop, or download
the pictures on the desktop and then transfer them over. Neither
of these are very convenient.
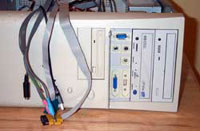
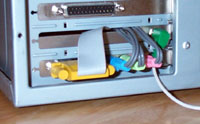
This is where FrontX
CPX (Computer Port Extension) comes in. The idea is so
simple. Move the ports to the front. A lot of new computers
have ports on the front of the computer, but for those of
us with slightly older computers, a way to get them to the
front would be helpful.
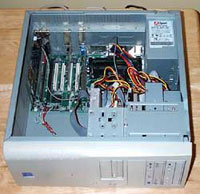
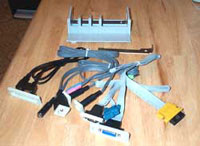
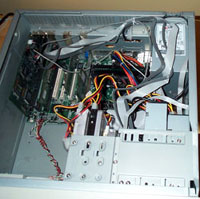
The FrontX casing fits in a 5 1/4 inch drive bay. The port
extensions fit into the casing, and their cables connect to
the appropriate device either internally or externally.
Installation
Here is how it works:
Testing
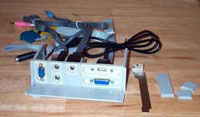
SOUND
Many computer speakers have a headphone jack built into them,
so having another headphone jack on the fron the computer
isn't a big deal. My speakers howerver don't have a headphone
jack, so this was a nice feature that worked fine.
I was a little concerned with the possibility of there being
a poor sound or that it would be crackly/staticy, but it wasn't.
I tested each of the front sound jacks and they all worked
fine.
USB
All of the pictures that are in this review were taken with
my Kodak DC-280 digital camera. When the pictures were taken,
I plugged the cable into the front USB port and transferred
the pictures without any problems. I transferred the pictures
to several different locations to continue testing, and there
were no hiccups.
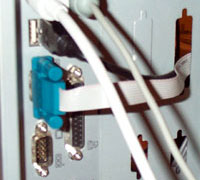
SERIAL
I have an external modem that connects to a 9-pin serial
port. When connected to the FrontX serial port extentions,
the modem worked flawlessly.
GAME PORT
I did not test this port. I am not a game player, and so
have nothing that I could test the port with. I would confidently
assume, however, that the game port would work as well as
the other tested ports.
Purchase
You can purchase
the FrontX Computer Port Extension set from the FrontX
web site. At the time of review, the set of options that were
reviewed would have cost $42.60 (shipping included). Check
the web
site for the most recent prices.
Conclusions
Almost anyone who opens their computer case can install the
FrontX CPX. It was very easy and everything worked as it should.
The cabling is a little messy in the case. FrontX should
provide something that you can tie the cables up with in the
case (I used a twist tie that the cables were wrapped up with).
Overall the FrontX CPX is a great product. It fills a void
in the market, and both novices and experts can install and
use it. And with the variety of items that can be extended
to the front (sound, headphones, microphone, USB, serial,
and soon firwire, parallel, and video) you will certainly
be able to customize a set to suit your needs. I can certainly
see myself using the USB port regularly.
Return to PCIN Hardware Reviews
Return to PCIN Home Page
|